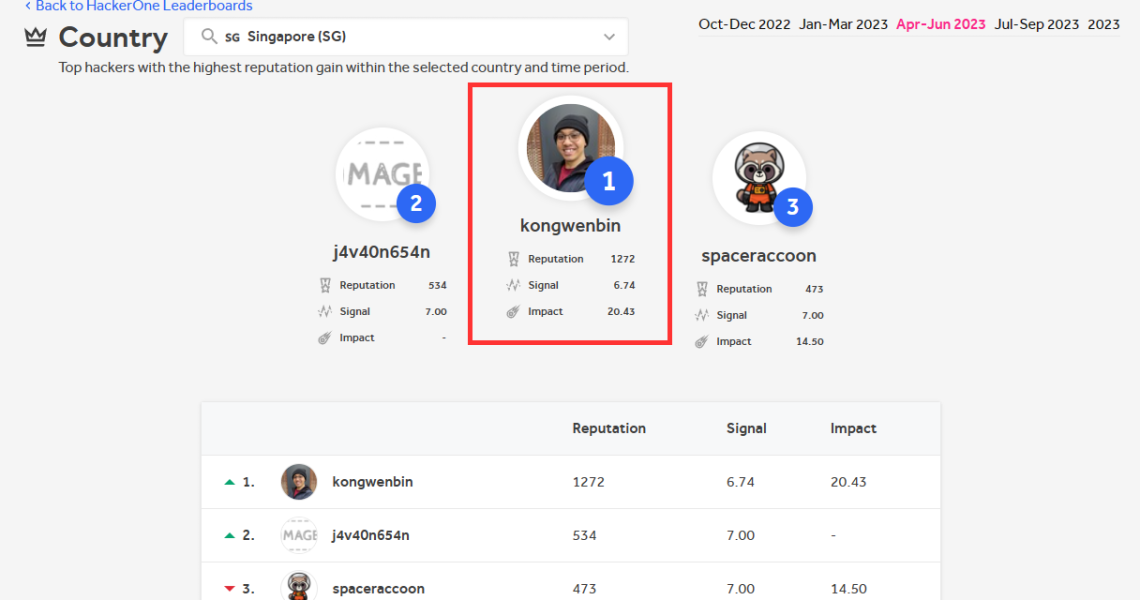
I gained over 1000 reputation points on HackerOne between April to June 2023!
I reviewed my past reports and would like to share 3 bug bounty tips with you!
I hope they are useful to you, have a great bug bounty journey, keep hunting!
Learning never stops; stay positive and keep learning
I gained over 1000 reputation points on HackerOne between April to June 2023!
I reviewed my past reports and would like to share 3 bug bounty tips with you!
I hope they are useful to you, have a great bug bounty journey, keep hunting!

The following is a sample WireGuard VPN server configuration file. For it to work, you need to replace the following value:
PrivateKey with your own WireGuard VPN server’s private keyPublicKey with your WireGuard VPN client’s public key [Interface]
PrivateKey = SERVER_PRIVATE_KEY
Address = 10.0.0.1/24
ListenPort = 51820
PostUp = iptables -A FORWARD -i wg0 -j ACCEPT; iptables -t nat -A POSTROUTING -o eth0 -j MASQUERADE; ip6tables -A FORWARD -i wg0 -j ACCEPT; ip6tables -t nat -A POSTROUTING -o eth0 0j MASQUERADE
PostDown = iptables -D FORWARD -i wg0 -j ACCEPT; iptables -t nat -D POSTROUTING -o eth0 -j MASQUERADE; ip6tables -D FORWARD -i wg0 -j ACCEPT; ip6tables -t nat -D POSTROUTING -o eth0 -j MASQUERADE
[Peer]
PublicKey = CLIENT_PUBLIC_KEY
AllowedIPs = 10.0.0.2/32The following is a sample WireGuard VPN client configuration file. For it to work, you need to replace the following value:
PrivateKey with your own WireGuard VPN client’s private keyPublicKey with your WireGuard VPN server’s public key[Interface]
PrivateKey = CLIENT_PRIVATE_KEY
Address = 10.0.0.2/24
DNS = 1.1.1.1, 1.0.0.1
[Peer]
PublicKey = SERVER_PUBLIC_KEY
Endpoint = YOUR_DROPLET_IPV4_ADDRESS:51820
AllowedIPs = 0.0.0.0/0, ::/0
PersistentKeepalive = 25Back to How to Set Up Your Own WireGuard VPN on a VPS (Beginner-Friendly Tutorial)
If you’re concerned about online privacy, need to rotate your IP address for bug bounty work, or simply want a fast, secure, and cost-effective VPN you fully control — then setting up your own WireGuard VPN server is a fantastic solution.
In this tutorial, I walk you step-by-step through setting up WireGuard on a VPS (I used DigitalOcean, but any cloud provider will do). This guide is perfect for beginners — whether you’re an aspiring ethical hacker or just looking to get more out of your internet connection.
qrencode, resolvconf, and configuring ufwWireGuard is a modern, lightweight, and highly secure VPN protocol that outperforms traditional solutions like OpenVPN. It’s perfect for personal use and professional testing alike.
URL: https://youtu.be/p2a7wdvtnwg
This guide gives you everything you need to host your own private VPN — no bloated software, no data-sharing policies, and total control over your setup. If you’re into bug bounty hunting or CTFs, this setup gives you the flexibility to rotate IPs and connect securely from anywhere.

Got a VulnHub machine that only provides a .vmdk file and not a full ISO installer?
In this video, I’ll walk you through how to:
What You’ll Need:

I made a walkthrough video for anyone who wants to run Kali Linux in a more lightweight, consistent way using Docker.
The video covers:
It’s a solid way to practice hacking without spinning up a whole VM — and great for anyone doing tutorials that require a Kali Linux instance, or folks who are starting out their penetration testing or bug bounty journey. At least for me, I was using a super bloated Kali Linux VM for many years …
If you have a better setup suggestion or advise that you want to share with others, please add them in the comments!
Watch it here:

Want to start learning ethical web hacking for FREE?
In this video, I break down 3 websites that offer hands-on labs, structured paths, and gamified learning – perfect for beginners in web application penetration testing and bug bounty!
Here’s who made the list:
✅ PortSwigger Web Security Academy
Learn real-world web vulnerabilities with interactive labs
✅ TryHackMe
Gamified challenges + guided learning paths
✅ Hack The Box
Academy modules, practice labs & certifications — all linked together
But I didn’t stop at listing them.
I shared my professional take on:
1️⃣ Their unique strengths
2️⃣ What makes each platform great for beginners
3️⃣ And where they could improve to become even better
This isn’t just another list — they are insights from an active bug bounty hunter from Singapore
Timestamps and useful links in the video description.
Comment your favorite FREE hacking resources — let’s share and help each other grow!