Level goal: The password for the next level is stored in a file readme in the home directory. Unfortunately, someone has modified .bashrc to log you out when you log in with SSH.
In this level, we need to connect using the ssh -t. The -t parameter basically opens a pseudo-tty within the session, with output in the same screen. The ssh session closes when the command completes. This way, you can quickly run a command before the connectivity closes and kicks you out with a “Byebye!”.
bandit17@melinda:~$ ssh -t bandit18@localhost cat readme
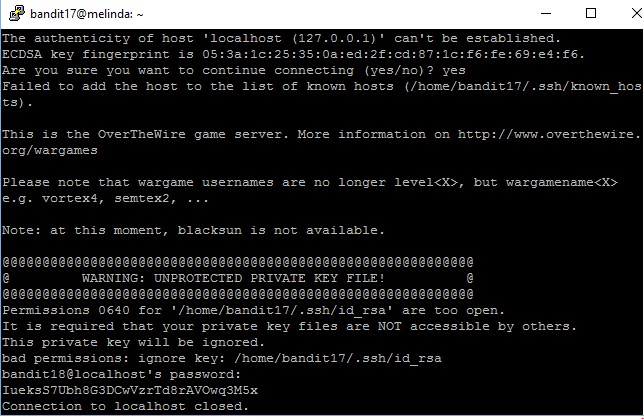
The authenticity of host 'localhost (127.0.0.1)' can't be established.
ECDSA key fingerprint is 05:3a:1c:25:35:0a:ed:2f:cd:87:1c:f6:fe:69:e4:f6.
{... REMOVED ...}
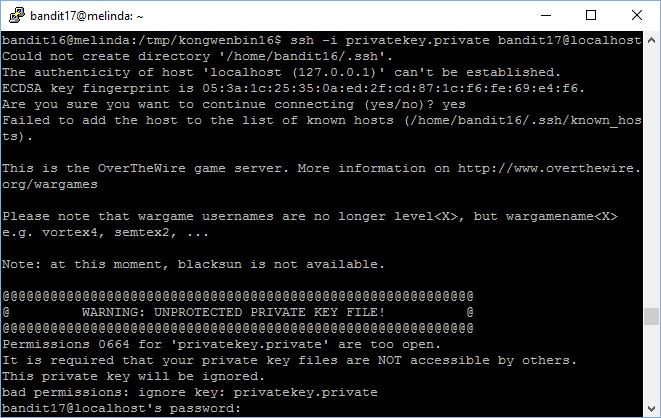
Permissions 0640 for '/home/bandit17/.ssh/id_rsa' are too open.
It is required that your private key files are NOT accessible by others.
This private key will be ignored.
bad permissions: ignore key: /home/bandit17/.ssh/id_rsa
bandit18@localhost's password:
readme
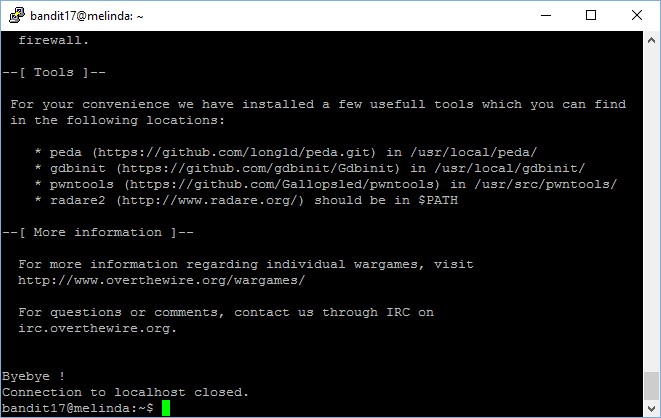
Connection to localhost closed.
Next, we run the same commands to check what is in the “readme” file.
bandit18@localhost's password:
IueksS7Ubh8G3DCwVzrTd8rAVOwq3M5x
Connection to localhost closed.
The password to gain access to the next level is IueksS7Ubh8G3DCwVzrTd8rAVOwq3M5x.