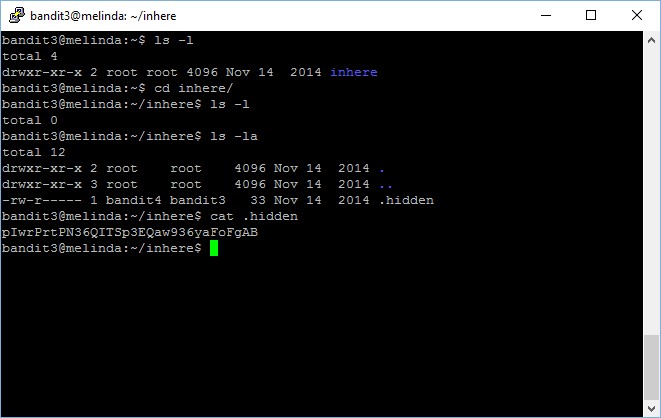
The password for the next level is stored in the only human-readable file in the inhere directory. Tip: if your terminal is messed up, try the “reset” command.
Since only one file is human-readable and contains the password to the next round, instead of opening all the files one by one and read its content, why not print all its content and spot the password?
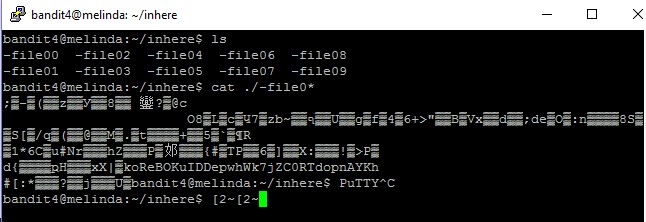
bandit4@melinda:~/inhere$ ls
-file00 -file02 -file04 -file06 -file08
-file01 -file03 -file05 -file07 -file09
bandit4@melinda:~/inhere$ cat ./-file0*
;▒-▒(▒▒z▒▒У▒▒ޘ▒▒8鑾?▒@c
 O8▒L▒c▒Ч7▒zb~▒▒ף▒▒U▒▒g▒f▒4▒6+>"▒▒B▒Vx▒▒d▒▒;de▒O▒:n▒▒▒▒8S▒▒Ѕ[▒/q▒(▒▒@▒▒M▒.▒t▒▒▒▒+▒▒5▒`▒¶R
▒1*6C▒u#Nr▒▒▒hZ▒▒▒P▒邚▒▒▒{#▒TP▒▒6▒]▒▒X:▒▒▒!▒>P▒
d{▒▒▒▒ҏH▒▒▒xX|▒koReBOKuIDDepwhWk7jZC0RTdopnAYKh
#[:*▒▒▒?▒▒j▒▒▒U▒
The password to gain access to the next level is koReBOKuIDDepwhWk7jZC0RTdopnAYKh