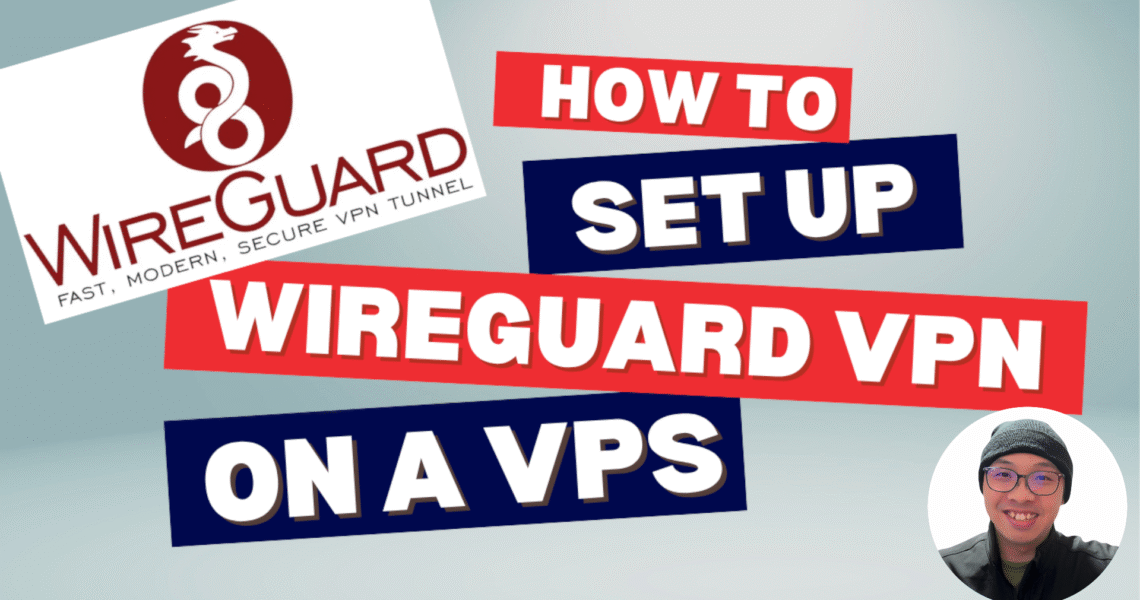
If you’re concerned about online privacy, need to rotate your IP address for bug bounty work, or simply want a fast, secure, and cost-effective VPN you fully control — then setting up your own WireGuard VPN server is a fantastic solution.
In this tutorial, I walk you step-by-step through setting up WireGuard on a VPS (I used DigitalOcean, but any cloud provider will do). This guide is perfect for beginners — whether you’re an aspiring ethical hacker or just looking to get more out of your internet connection.
What You’ll Learn
- Creating a VPS using DigitalOcean Droplets
- Installing WireGuard and supporting tools like
qrencode,resolvconf, and configuringufw - Generating server and client keys
- Setting up a full VPN configuration
- Enabling IP forwarding and firewall rules
- Creating and importing the client configuration (tested on macOS)
- Generate a QR code to connect from your phone (tested on iPhone)
Why WireGuard?
WireGuard is a modern, lightweight, and highly secure VPN protocol that outperforms traditional solutions like OpenVPN. It’s perfect for personal use and professional testing alike.
Watch the Full Video Tutorial
URL: https://youtu.be/p2a7wdvtnwg
Resources Mentioned
- Get $200 FREE DigitalOcean Credits
- DigitalOcean Droplets
- WireGuard Installation (macOS/Other Platforms)
- How to Create VPS using DigitalOcean
- Sample WireGuard VPN Configuration Files
Final Thoughts
This guide gives you everything you need to host your own private VPN — no bloated software, no data-sharing policies, and total control over your setup. If you’re into bug bounty hunting or CTFs, this setup gives you the flexibility to rotate IPs and connect securely from anywhere.